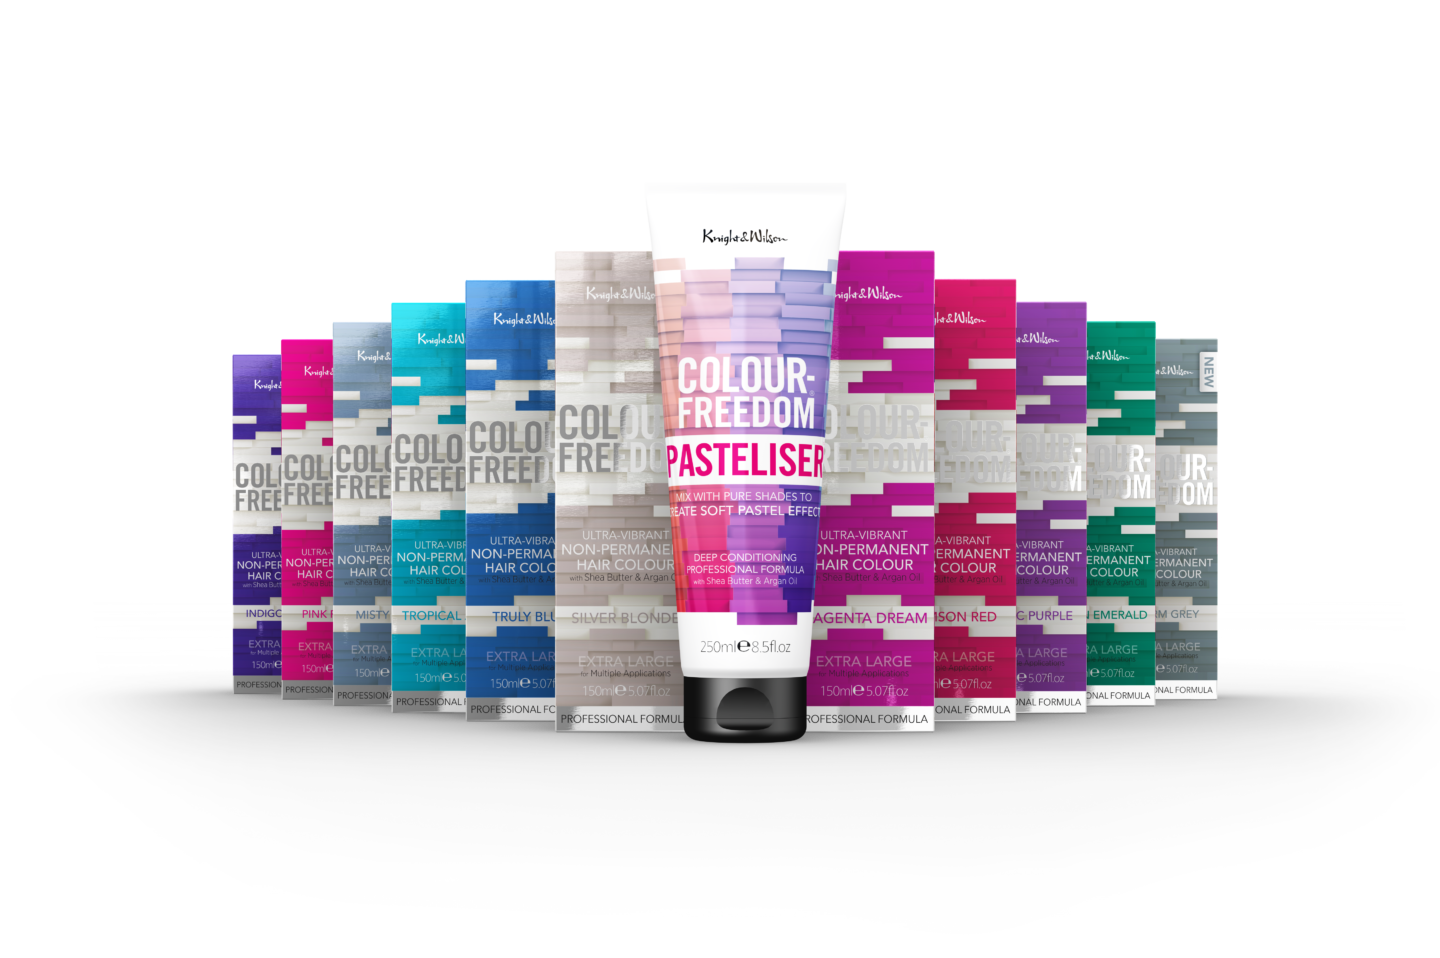
If you’re about to delve into the depths of home hair dyeing for the first time, it can be daunting task. but desperate times call for desperate measures: so, to help you to avoid burning your own scalp off we spoke to the experts at Knight & Wilson, creators of hair colour collection Colour Freedom and the sell-out home hair repair treatment Pureplex, to bring you some advice on how to dye your hair at home.

How to dye your hair at home: Step One
Prepare, Prepare, Prepare!
It goes without saying – fail to prepare and prepare to fail! Make sure if your hair is longer than shoulder length to buy two boxes; there’s nothing worse than running out halfway through. Grab yourself a glass or plastic bowl to mix your dyes in, invest in a brush to ‘paint’ the dye on with (it always produces more accurate results than the nozzle) and make sure you have some old clothes and towels handy.
Step Two
Don’t skip the patch test
An essential part of hair dyeing; you wouldn’t skip the patch test at a salon so why would you at home? Even if you’ve been a salon regular for years, every dye is different and allergies can develop out of the blue, so it’s essential to test before every dyeing session.
Step Three
Take note of your texture
Your hair’s texture will affect the result, as dry, frizzy hair will suck up colour faster than hair that’s in good condition. If in doubt, invest in a pre-dye treatment like the Pureplex Home Hair Repair System (£12.99), which helps repair hair’s keratin bonds from within, strengthening the hair’s internal structure and making sure it’s in the optimum condition to receive the dye.
Step Four
Know the difference between permanent and semi-permanent
For experimenting without the commitment, semi-permanent colour is fairly low-maintenance, will fade within a number of weeks and are a good option for a boost in between salon appointments. For the real deal, permanent colour will give you up to 100% grey coverage and a long-lasting result that will grow out, but you’ll need to pay attention to the roots as they will be more noticeable using permanent colour than a semi-permanent colour.
Step Five
Clean up as you go along…
Have a damp flannel or some cleansing wipes handy to mop up any spots that hit your skin as you go along, rather than leaving until it’s too late! Prep the hairline with a swipe of a clear, solid lip balm before you begin and it will protect from any ‘bleeding’ into the skin.
Step Six
Invest in aftercare
Freshly dyed hair needs looking after or all your hard work will be undone. Invest in a shampoo and conditioner without sulfates or parabens that won’t strip the colour.
Step Seven
Be careful touching up roots
The ends of your hair are much more porous than the roots, so when touching up the latter take care that you only apply to the previously coloured hair towards the end of the development time, for a short period, if needed.
Step Eight
Sectioning is your friend
We all remember teen hair dyeing disasters when we thought we’d nailed it, only to discover the back was patchier than a moth-eaten jumper. Use a tail comb to create a crisp middle parting and split the hair into four sections. Apply your dye from back to front so the back has the longest time to develop.
Step Nine
Leave it down!
Whatever you do, don’t scrunch hair up or twist into a bun during development, as you risk an uneven distribution of colour.
How to dye your hair at home: Step Ten
Never forget to condition
The final step of conditioner is there for a reason; it will seal the cuticle locking in the colour, leaving the hair feeling smooth and looking shiny.
Make sure you follow Knight and Wilson on Instagram for more top tips for home dying.

Just a group of real women dealing with life’s daily struggles! Want to write for us? Email: hello@thedailystruggle.co.uk