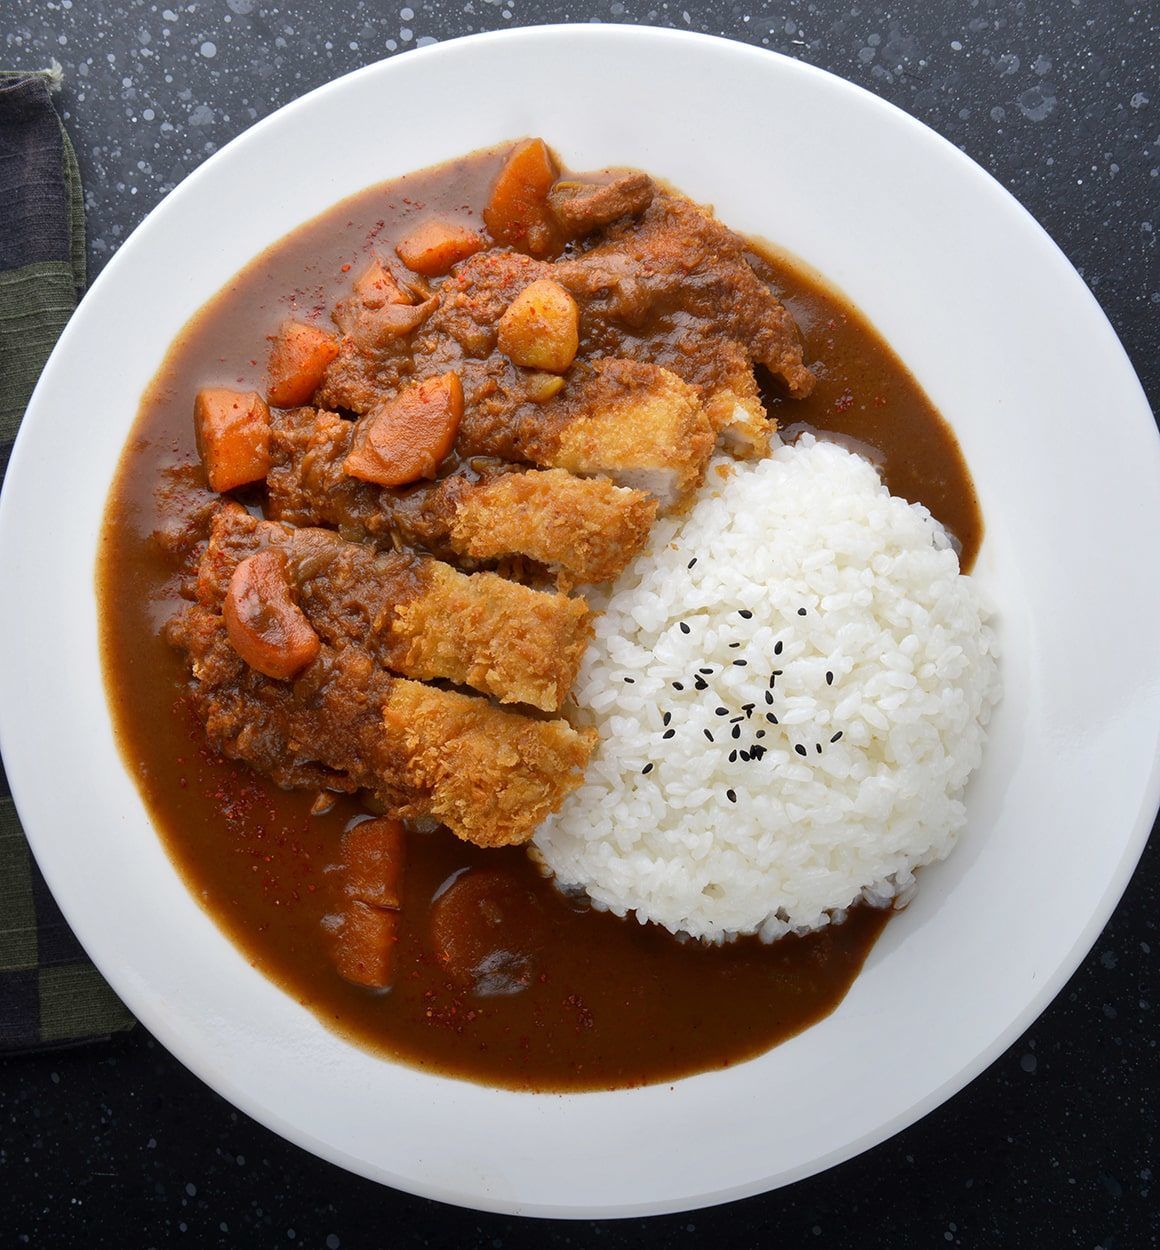
If you’ve been craving a Wagamama chicken katsu curry since it’s been shut, you’re not alone. But, the good news is, we’ve found a way to recreate the iconic dish that’s you’ve seen so many times on Instagram at home using the famous Ninja multi cooker.
Featuring TenderCrisp Technology, this one-pot wonder is a pressure cooker that crisps, to make that gorgeous crispy chicken that Wagamama is so famous for. Enjoy!

Feel-good chicken katsu curry
Ingredients
• 450g chicken breasts pounded to 1cm thin cutlets
• Salt and pepper to taste
• 3 tbsp flour
• 1 large egg, whisked
• 75g bread crumbs
• 3–4 tbsp olive oil
• 200g uncooked rice
• 360ml water
• 1 large carrot, peeled, cut in 1-inch cubes
• 1 small onion, peeled, cut in 1-inch cubes
• 300g potatoes, peeled, cut in 1-inch cubes
• 280g katsu curry sauce
Method
• Start by selecting SEAR/SAUTÉ and set to MD:HI. Select START/STOP to begin and let your Ninja preheat for 5 minutes.
• While that preheats, season your chicken with salt and pepper and place flour, egg, and bread crumbs in individual shallow bowls. Coat each piece of chicken with flour, then egg, and then bread crumbs.
• Once the 5 minutes are up, add olive oil to the pot and cook each piece of chicken for 3 to 4 minutes on each side, until golden brown.
• Take your chicken out of the pot, and leave them to rest on some paper towels, and wipe any remaining oil out of the pot.
• Throw your rice and water into the pot, then put the reversible rack in the lower position and put all of the remaining ingredients into your multi-purpose pan, and place the pan on the rack.
• Put the pressure lid on in the SEAL position. Select PRESSURE and set to HIGH. Set time to 4 minutes. Select START/STOP to begin.
• Once the four minutes are up, allow the pressure to release naturally for 10 minutes. Then move the pressure release valve to the VENT position, and carefully remove the lid.
• And Voila, serve!

Just a group of real women dealing with life’s daily struggles! Want to write for us? Email: hello@thedailystruggle.co.uk